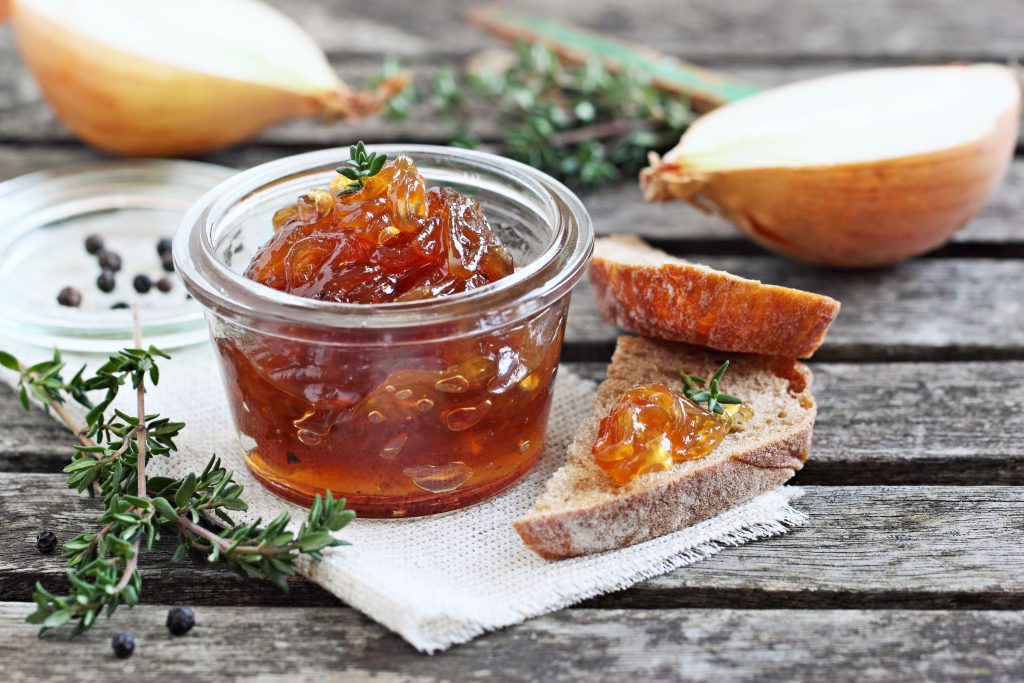
Preserving homemade jams and preserves using mason jars and the canning process is a time-tested method to ensure your delicious creations have a longer shelf life. Follow these step-by-step instructions for a successful canning process:
Equipment and Ingredients:
- Mason jars with lids and bands
- Large stockpot or water bath canner
- Canning funnel
- Jar lifter
- Bubble remover tool or non-metallic spatula
- Clean kitchen towels
- Jam or preserve recipe of your choice
- Sugar (if required by your recipe)
Step-by-Step Canning Process:
1. Prepare Jars and Lids:
- Wash the mason jars, lids, and bands in hot, soapy water. Rinse them well.
2. Sterilize Jars:
- Place the jars in a water bath canner or a large stockpot filled with water. Bring the water to a simmer and let the jars simmer for 10 minutes to sterilize. Keep them warm until ready to use.
3. Prepare the Jam or Preserve:
- Follow your chosen jam or preserve recipe. Cook the jam according to the recipe’s instructions.
4. Fill Jars:
- Use a canning funnel to fill the sterilized jars with the hot jam, leaving about ¼ inch (0.6 cm) headspace at the top.
5. Remove Air Bubbles:
- Run a bubble remover tool or non-metallic spatula around the inside of the jar to remove any air bubbles.
6. Wipe Jar Rims:
- Using a clean, damp kitchen towel, wipe the rims of the jars to ensure they are free from any residue or stickiness.
7. Apply Lids and Bands:
- Place the sterilized lids on the jars and secure them with the bands until fingertip-tight. Do not overtighten.
8. Process in Water Bath Canner:
- Lower the filled jars into the water bath canner or stockpot using a jar lifter. Ensure the jars are covered with at least 1 inch (2.5 cm) of water. Bring the water to a gentle boil.
9. Process Time:
- Process the jars in the boiling water bath for the time specified in your recipe. Processing times vary depending on the type of jam or preserve and your altitude.
10. Remove and Cool:
- Once the processing time is complete, use the jar lifter to carefully remove the jars from the water bath. Place them on a clean kitchen towel to cool.
11. Check Seals:
- After the jars have cooled, press down on the center of each lid. If it doesn’t pop back, and you can’t push it down further, the jar has sealed.
12. Store Jars:
- Store the sealed jars in a cool, dark place. Label them with the date and type of jam or preserve.
13. Check Seals Again:
- Wait 24 hours, then check the seals again by pressing down on the lids. If they are firmly sealed, your jams and preserves are ready for long-term storage.
By following these steps, you can successfully preserve your homemade jams and preserves using mason jars and the canning process. This method ensures that your flavorful creations can be enjoyed well beyond their initial preparation.


Be First to Comment