
For those that don’t know, besides writing and editing for Scapi I’ve also in the past done my fair share of audio and video recording for both musicians and outside work. The one format that has always been both in demand and short supply is audition recordings.
Some folks reading may immediately scoff at the idea of doing their own audition recordings, but as a person who has in the last six years made thousands of dollars doing them, I’m telling you now to consider it. It can save you a ton of money in an already expensive moment in your potential career, and in the worst of cases you’re mainly paying to rent someone’s equipment.
If you’re still thinking that you would never put hands to recording equipment, I would say this is at least still worth a read to make sure you’re not getting ripped off.
So, now you’re wondering, how are audition recordings made? Well, there are two main considerations: Audio and Video. Surprise.
Audio
For audio, I’m going to work from the musician’s perspective because that is where audio is the most crucial. For the musician, audio should be your chief concern anyway and if you are going to spend any of your budget on equipment this is where you should do it.
First takes knowledge of your instrument, knowing where it sounds the best in any given recording space. In the case of 90% of voice recordings for example, this is happening in some church or similar space so putting the microphone roughly 25-40 feet away will allow for your voice to both develop in the space to capture all ranges of your voice’s frequency, and also pick up the lighter nuances of diction.
As for the equipment, if you’re really broke the mic on your cell phone won’t do a terrible job. Cherished youtube live recordings of your favorite artist were recorded right on someone’s cell phone, it can do a decent job of recording you. Take a sample recording and then adjust, your chief concern being to make sure it’s far enough away that you’re not getting any distortion or damage.
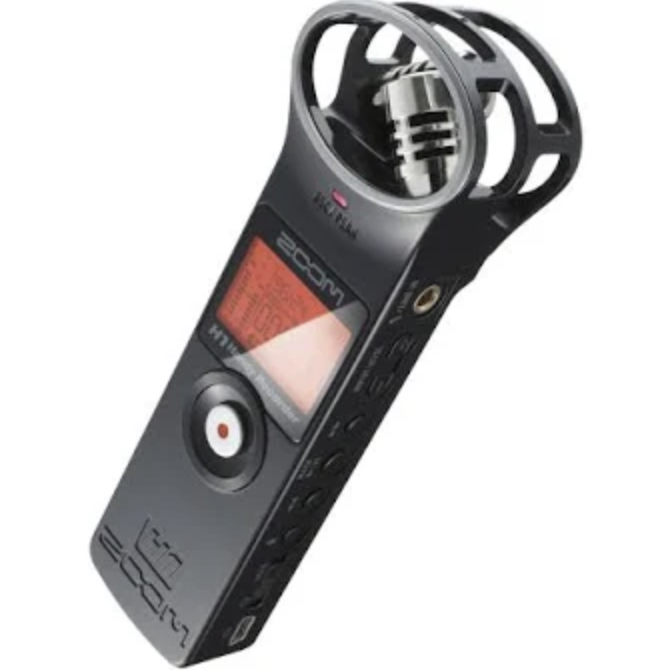
If you have a budget, any zoom microphone will do. I’m partial to the h1 because you can find it around ~$80 on ebay and the sound quality is solid. Same rules as before apply, aim for where you know the sound should technically sound the best, where the vibratos settle in a pleasing space, take a sample and adjust if you have distortion.
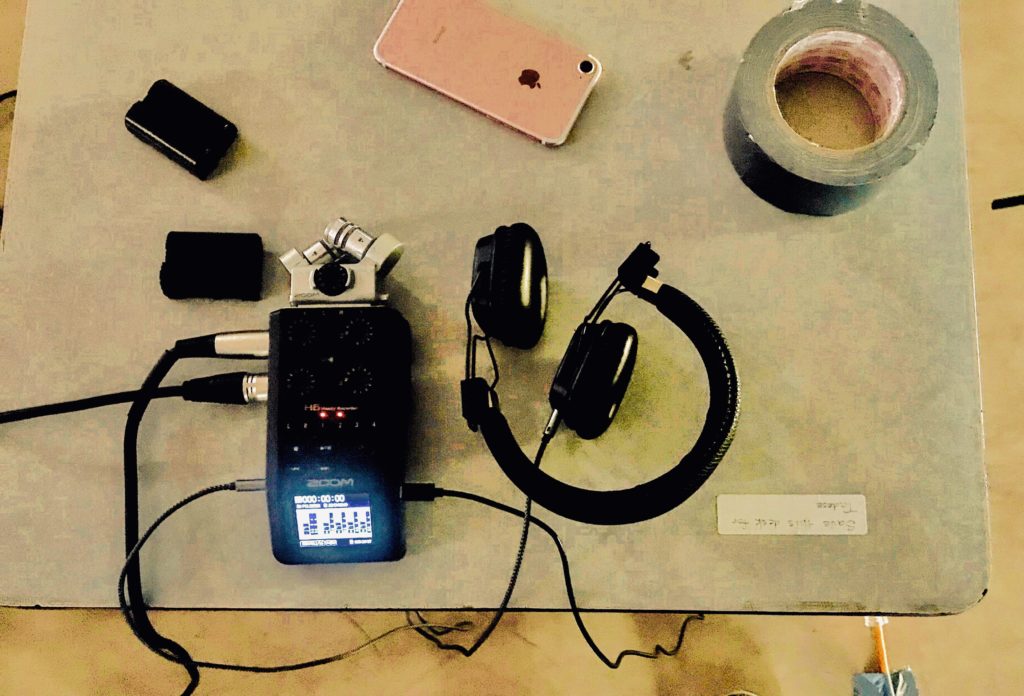
If you really want to hit a home run in the audio department, you’ll need to spring for a mixer of some kind. The Zoom H6 works as a fantastic portable mixer, then you’ll need to get some XLR, and microphones of your choosing. On the intensely cheap end, I’ve had luck with these mics.
You’ll want at least two mics and to use the same basic principals as above, considering you’re now recording in stereo, meaning you’re coming from two sides with your instrument in the middle.
If you’re looking to spend more money then this, hey, you should start a recording studio. Check out Shures or Blue mics and go all the way.
Video
This is especially where I’m going to say that likely the camera on your cell phone will get the job done here. Repurpose a music stand or find any cell phone tripod, like this one, and frame the shot using a friend or cardboard cutout.
Whatever you do, don’t have the camera handheld by someone. It’s near impossible to not make it look shaky. Try and use rule of thirds where possible, the human eye really likes it when things are broken into two-thirds and a third.
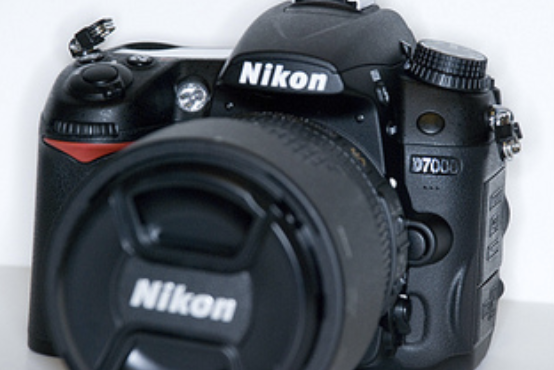
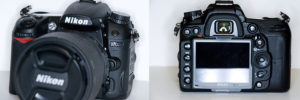
If you have a point and shoot try that, too, but my best recommendation if you’re looking to budget for video is the Nikon d7000, which I’ve written extensively about in the past as my favorite budget camera. You can read all about that here. You’ll need lenses and to learn about manual focusing, but you’ll be making your own professional recordings at this point.
Editing
The bear of this, undoubtedly, is going to be the editing. Real talk, if you’re willing to do all of this and can’t handle the editing, shoot me an email saying you read this article and I’ll do it for you real cheap. Otherwise, here’s my best step by step:
Pick a software. If you have a mac, it’s going to be iMovie. PC will be Windows Movie Maker. Import your footage file and your audio file, put them into the timeline. Be patient with yourself. I repeat, be patient with yourself.
For the high-end, most Mac users use a combination of Final Cut and Logic. Licenses cost upwards of a couple hundred bucks each. Most PC users use the Adobe Suite, and/or Ableton. I personally use Logic and Adobe Premiere, as I am usually audio editing on my old college macbook and video editing on my custom-built PC. It all depends on your workflow, the software isn’t a noticeable difference once you’ve learned them.
You will need to be able to see the audio waves on both the video and the audio, and when you can, you’ll zoom in on the timeline to line these waves up. Play a little bit of it back to see if you can hear both recordings unaligned, and try again. Remember patience, walk away and come back if you need to.
Once you have it aligned, you’ve done the hardest part of editing. Cut off both ends of the recording and export the footage. Repeat for as many tracks as you’ve recorded.
And that’s it! In theory, you should have your audition recordings all set and ready to send out to the employer of your choice.
A few times in this article I’ve mentioned you can reach out to me personally if you need help or have further questions, I can’t stress this enough. In fact, here’s my personal email: danielrjohanson@gmail.com.
You can do this, I believe in you.


Be First to Comment